 Save to Pinterest
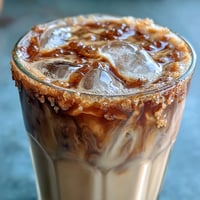
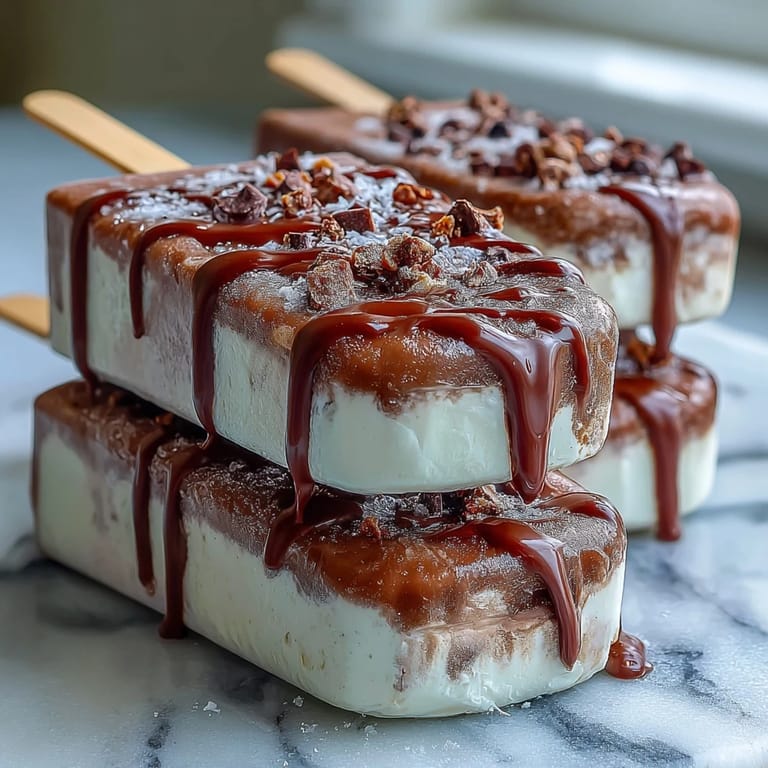
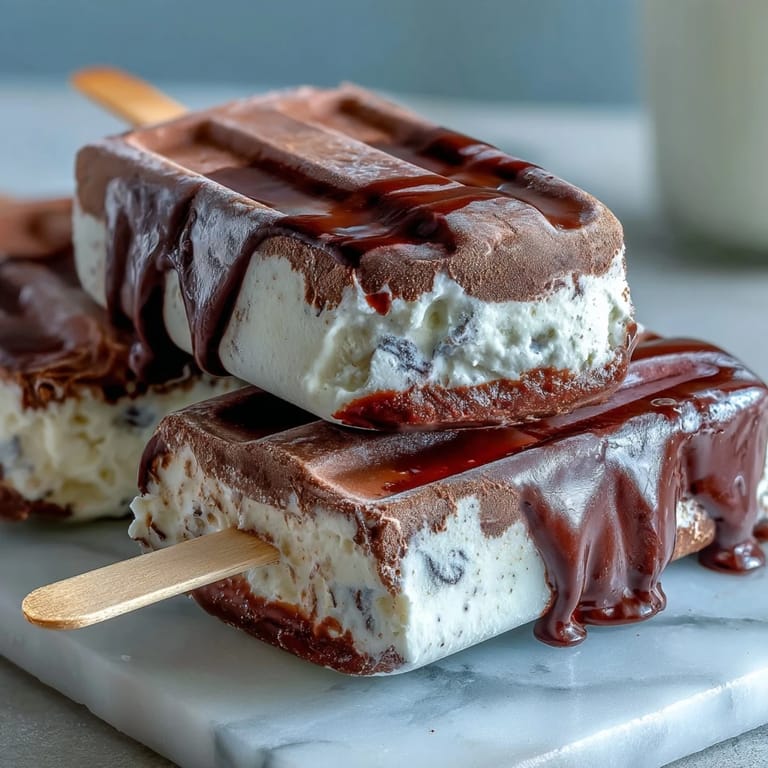
 My friend texted me a photo of an iced coffee drink mid-afternoon, captioning it with "why is summer so hard?" and honestly, I felt that. So I started tinkering with turning that exact vibe into something frozen you could actually hold in your hand. The result was these vanilla bean frappuccino fudge pops—creamy, coffee-kissed, with a dark chocolate surprise at the bottom that melts into every bite. They became my answer to those scorching days when you want dessert but also need that coffee jolt to survive the heat.
I made these for a neighborhood gathering in July, and watching people's faces when they bit into that hidden fudge layer was worth every minute of planning. Someone asked if I'd bought them from a specialty shop, and I just smiled. There's something quietly satisfying about handing someone a homemade frozen treat on a hot day and watching them realize it's better than anything they could've grabbed on a coffee run.
Ingredients
- Whole milk: This is your base, keeping the pop creamy without being icy, and one and a half cups gives you that authentic frappuccino texture.
- Heavy cream: Half a cup goes into the mix for richness, and another quarter cup melts with the chocolate—don't skip either amount.
- Sweetened condensed milk: This ingredient is the secret to preventing rock-hard pops; it keeps everything scoopable and silky.
- Strong brewed espresso or coffee, cooled: Use the good stuff here, a third cup of something you'd actually drink, because weak coffee makes weak pops.
- Vanilla bean: Split one fresh bean and scrape those tiny seeds into the mixture—or use two teaspoons of pure vanilla extract if beans aren't in your budget today.
- Semisweet chocolate chips: Half a cup gives you enough fudge without overwhelming the vanilla, and I prefer ones that aren't too bitter.
- Granulated sugar: A quarter cup is a starting point, but taste the mixture before you freeze it and adjust if it needs sweetness.
Tired of Takeout? 🥡
Get 10 meals you can make faster than delivery arrives. Seriously.
One email. No spam. Unsubscribe anytime.
Instructions
- Make your frappuccino base:
- Whisk together the milk, heavy cream, sweetened condensed milk, cooled coffee, vanilla seeds or extract, and sugar in a medium bowl until the sugar dissolves and everything turns pale and smooth. This takes maybe three minutes of steady whisking, and you'll know it's ready when you can't feel any grit against the bottom of the bowl.
- Melt the chocolate layer:
- Combine chocolate chips and a quarter cup of heavy cream in a microwave-safe bowl, then microwave in twenty-second bursts, stirring between each one until you have glossy, pour-able chocolate. Let it cool for a minute or two so it won't be too hot when it hits your popsicle molds.
- Build the pops:
- Spoon one to two teaspoons of the chocolate mixture into the bottom of each popsicle mold—this creates your fudge anchor. Work carefully here because you want chocolate at the base but not so much that it crowds the mold.
- Add the creamy layer:
- Pour or carefully spoon the vanilla frappuccino mixture over the chocolate, filling each mold nearly to the top and leaving just a tiny bit of room for the sticks. If you want a marbled effect, run a thin stick or knife through the layers a few times before it sets.
- Freeze and set:
- Insert popsicle sticks into each mold and place everything in the freezer for at least four hours, though overnight is ideal. The longer they freeze, the better the texture and the easier they'll be to remove.
- Release and enjoy:
- Run the outside of each mold under warm water for five to ten seconds, wiggle the stick gently, and the pop should slide right out. Eat immediately while the fudge is still slightly soft and everything is perfectly cold.
 Save to Pinterest
 One sticky afternoon, my partner brought home fresh vanilla beans from a specialty market, and I realized I'd been using extract for years without understanding what I was missing. Cracking open that first real bean and scraping those tiny seeds into the mix felt like discovering a new layer to something I thought I already knew. Now every batch reminds me that small details change everything.
Customizing Your Fudge Layer
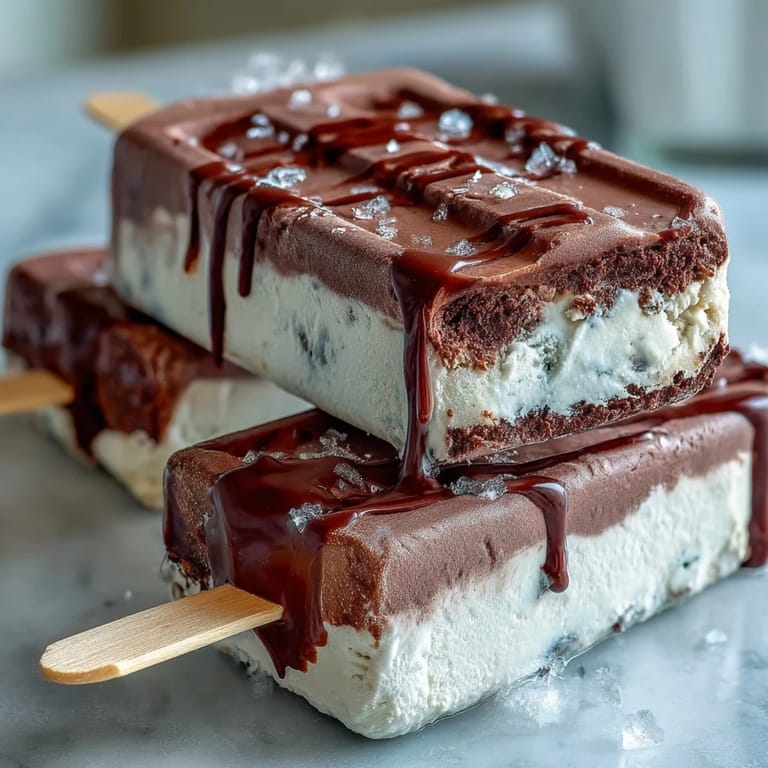
The chocolate fudge doesn't have to be boring or one-dimensional. You can stir a quarter teaspoon of sea salt into your melted chocolate for a salted fudge pop, or add a tiny pinch of cayenne if you like the idea of heat threading through the richness. I've also swapped the semisweet chips for dark chocolate when I'm in a less-sweet mood, and the coffee actually plays nicer with that deeper cocoa flavor. The fudge layer is your playground—use it to make these pops feel like your own invention.
Dairy-Free and Alternative Versions
These pops transform beautifully if you need or want to skip dairy. Coconut milk and coconut cream swap in one-to-one for the regular milk and heavy cream, creating a tropical undertone that sounds weird but actually complements the vanilla and coffee. Oat milk works too if you prefer something less heavy, though you might need an extra tablespoon of condensed coconut milk to keep that creamy texture locked in. Almond milk is thinner and won't give you the same silky result, so if that's your choice, boost it with another tablespoon of coconut cream.
Storage and Make-Ahead Magic
These pops keep in the freezer for up to two weeks, and honestly, having a stash of homemade frozen treats waiting in the mold rack is a life changer. You can also make the frappuccino base a day ahead and refrigerate it until you're ready to assemble and freeze, which takes the pressure off if you're planning these for an event. Just give the base a quick stir before pouring it into the molds because separation might happen over time.
- If your molds don't have built-in sticks, wooden popsicle sticks are cheaper in bulk and actually work better than fancy reusable ones.
- A thin offset spatula helps you scrape out every last bit of chocolate from the mold without scratching the surface.
- Stack the finished pops in a zip-top bag once they're solid, and they'll take up way less freezer real estate.
 Save to Pinterest
 These pops remind me that the best frozen treats are the ones you make yourself, timing and temperature perfect because you controlled every choice. Hand one of these to someone on the right day, and you're not just giving them dessert—you're giving them a moment of summer that tastes like thought.
Recipe FAQs
- → How do I achieve the perfect fudge layer for these pops?
Gently microwave the chocolate chips with cream in short intervals, stirring between each until smooth. Cool slightly before layering to ensure a firm but creamy base.
- → Can I substitute the espresso with regular coffee?
Yes, using strong brewed coffee works well to provide the coffee flavor without overpowering the vanilla and fudge components.
- → What’s the best way to remove the pops from the molds?
Running warm water briefly over the outside of the molds loosens the frozen mixture, making it easier to pull out the pops without breaking.
- → How can I make these dairy-free?
Replace whole milk and heavy cream with coconut milk and coconut cream to maintain creaminess while avoiding dairy.
- → Is there a way to create a marbled fudge effect in the pops?
After layering the fudge and vanilla mixtures, gently swirl them with a toothpick or skewer before freezing to create a marbled appearance.