 Save to Pinterest
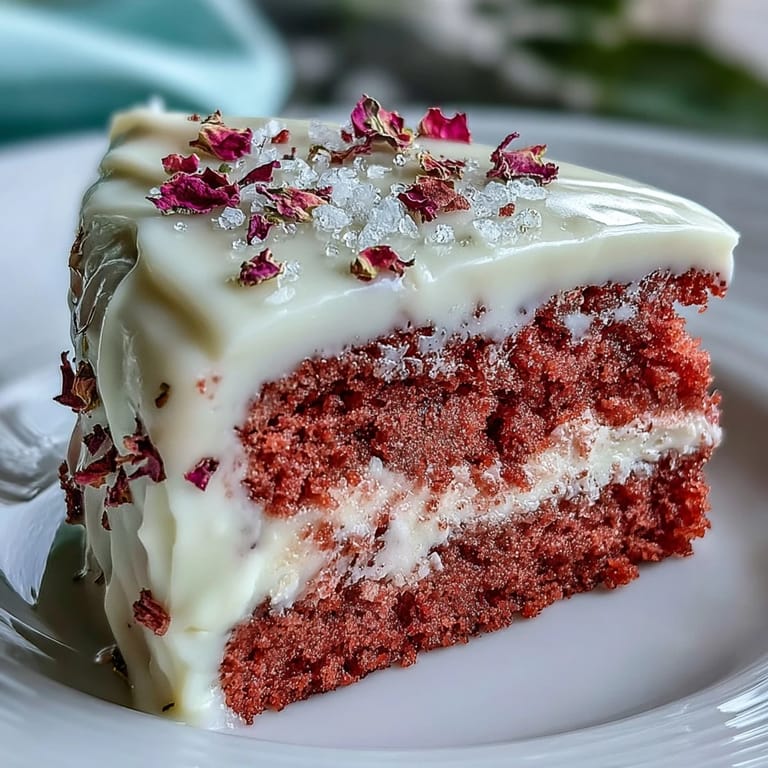
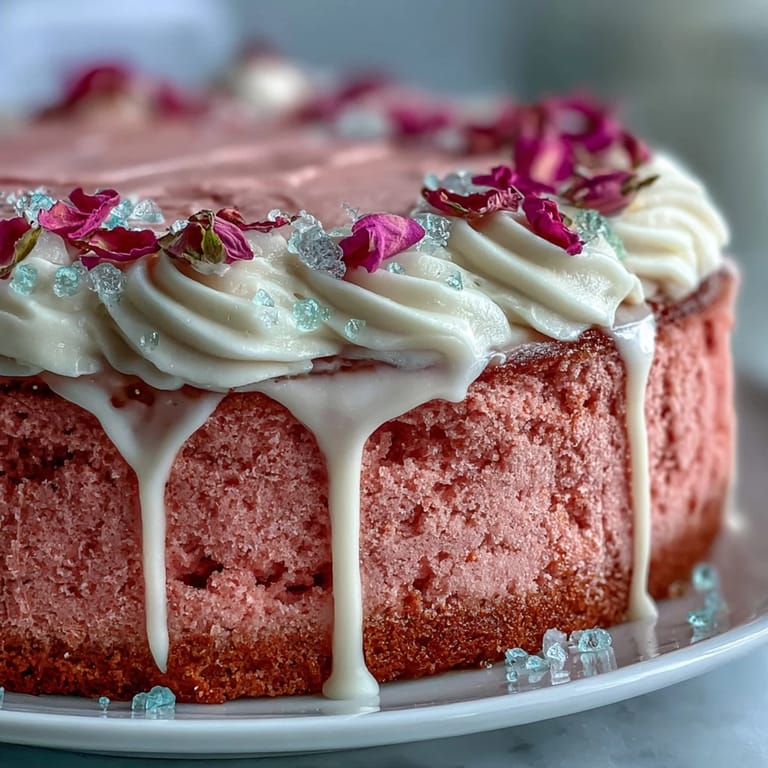
 There’s something whimsical about baking a cake that feels both grown-up and playfully pink. I first made this Rosé Velvet Cake on a rainy afternoon, with sunlight suddenly breaking through the kitchen window, spotlighting my mixing bowl. The aroma of vanilla and a faint fruity whiff from the rosé filled the air, luring even the most cake-skeptical friends to the counter. This isn’t your average celebration cake—its subtlety and shimmer instantly elevate any gathering. By the time the edible gold drip set, I caught myself grinning at the glint, half-proud and half-amazed it worked out.
When I baked this for my sister’s bridal shower, laughter echoed around the table as we debated cutting into such a pretty masterpiece. My mom got caught dusting her finger in the luster dust, hoping to steal some sparkle before dessert. That rosé aroma always takes me back to that afternoon with family gathering around, cameras poised, and the cake right at the center of it all.
Ingredients
- All-purpose flour: Gives the cake just enough structure but stays light—I always sift to avoid lumps.
- Granulated sugar: Sweetens and keeps the crumb tender; it dissolves best when whisked with the dry mix.
- Baking soda: Essential for rise; I learned the hard way not to skip it.
- Fine salt: Don’t skip—just a touch sharpens the flavors and keeps things balanced.
- Cocoa powder (unsweetened): Just a tablespoon gives depth to the pink, making the color more sophisticated than bubblegum.
- Vegetable oil: Guarantees a moist, rich crumb every time.
- Eggs (room temperature): Room temp eggs blend more smoothly and help the cake rise evenly.
- Buttermilk: Softens the crumb with a tang; I always give it a gentle stir before using.
- Rosé wine: Use a dry or sparkling rosé—the floral notes come through after baking.
- Vanilla extract: Adds that bakery-fresh aroma and warmth.
- White vinegar: Reacts with baking soda for a perfect texture—don’t worry, you can’t taste it.
- Pink or rose gel food coloring: The gel gives pure color; start with a little, add until it’s just right.
- Unsalted butter: Soft and room temp is key for fluffy buttercream—let it sit out for at least 30 minutes.
- Powdered sugar: Sifted so there are no lumpy patches in your frosting; trust me, it makes a difference.
- Heavy cream: For the gold drip, it turns chocolate chips into a smooth, pourable glaze.
- White chocolate chips: Melt gently for the drip; overheat and you’ll have a grainy mess.
- Edible gold luster dust: Only use edible versions for safety and sparkle—never substitute with metallic craft dusts.
- Vodka or clear lemon extract: Mixes with luster dust to create paint; vodka evaporates so there’s no aftertaste.
- Rose petals or berries (optional): To finish, I like to scatter a few petals or berries for something extra.
Tired of Takeout? 🥡
Get 10 meals you can make faster than delivery arrives. Seriously.
One email. No spam. Unsubscribe anytime.
Instructions
- Prep the pans:
- Grease and line three 8-inch cake pans with parchment, making sure the circles fit smoothly to prevent sticking later.
- Mix the dry ingredients:
- In a large bowl, sift together the flour, sugar, baking soda, salt, and cocoa powder—a cloud of cocoa might escape, so inhale that cozy aroma.
- Whisk wet ingredients:
- In a second bowl, combine oil, eggs, buttermilk, rosé wine, vanilla, and vinegar, whisking until it all looks uniform and creamy.
- Combine and color:
- Pour the wet into the dry ingredients and gently mix just until combined; swirl in the gel coloring little by little until the color sings ‘rosé’ to you.
- Bake the cakes:
- Divide batter evenly among pans, smoothing the tops, and bake 30–35 minutes, until a toothpick from the center comes out clean.
- Cool completely:
- Let cakes rest in pans for 10 minutes, then carefully turn out and cool fully on a rack—this is when your kitchen starts to smell impossibly good.
- Make the buttercream:
- Beat softened butter on high until fluffy; gradually add powdered sugar, then rosé wine, vanilla, and salt, mixing until you get a dreamy, pale-pink frosting.
- Layer and frost:
- Level the cooled cakes if needed, then stack and fill with buttercream, finishing with a crumb coat and final fluffy layer after chilling.
- Gold drip magic:
- Melt white chocolate chips with cream, let it cool a few minutes, then pour over the cake’s top edge so it gently drips down the sides.
- Paint and decorate:
- Mix luster dust with vodka and carefully brush the set drip with gold paint; garnish with rose petals or berries for extra flair.
 Save to Pinterest
 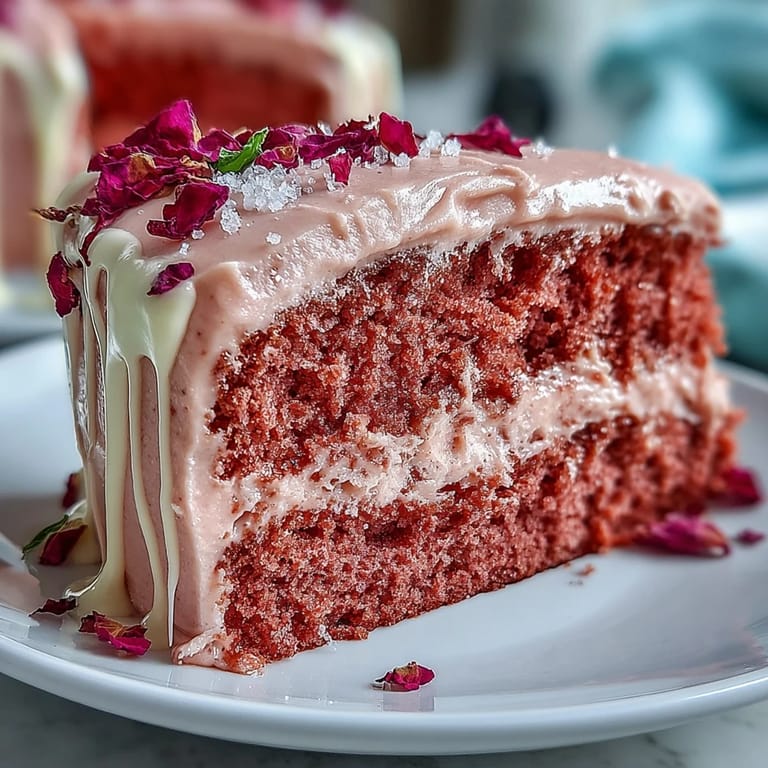 Save to Pinterest
 Watching friends break into applause—half mocking, half sincere—as the gilded cake appeared from the fridge made all those sticky bowls and gold-dusted counters worth it. It was the sort of dessert that lingered in conversation long after plates were cleared, a little moment of kitchen magic everyone shared.
Tricks for a Showstopping Finish
Chilling both the crumb-coated cake and the glaze before applying the drip helps control those perfect drips, so they don’t pool at the bottom. I like to keep a small offset spatula on standby for swooping the buttercream edges and nudging the drip in place if it starts to misbehave. Gold luster dust goes further than you think—a little pinch creates a dazzling effect, and there’s always leftover sparkle for next time.
Mastering Rosé Flavor
Not all rosé wines are created equal, and I found out the hard way that drier varieties bring out a delicate, aromatic touch without overpowering the cake. Don’t worry if you only have sparkling on hand; bubbly rosé works too and adds a fun crisp note. Remember, the wine flavor will mellow as the cake bakes, so don’t be shy with your addition.
Decorating Tips for a Bridal Shower
Little touches make this cake utterly celebration-ready—I like to add fresh rose petals just before serving, making sure they’re unsprayed and safe for food. Fancy sprinkles or a scattering of raspberries make it look even more inviting, and a light mist of luster dust turns every slice into a photo moment. If you’re nervous about painting the drip, test with a separate piece of parchment first and you’ll get the hang of it.
- Edible gold touches are key—double check your luster dust is food grade.
- Bring the cake to room temperature before serving for the best texture and flavor.
- Don’t worry about perfection—the shimmer hides small flaws.
 Save to Pinterest
  Save to Pinterest
 This cake isn’t just a showpiece—it’s a promise of laughter and sweet memories. Here’s to every slice turning into a toast for something special.
Recipe FAQs
- → Can I use sparkling rosé?
Yes. Sparkling rosé adds a subtle effervescence and brighter aromatics; use it in the batter and buttercream sparingly to keep texture balanced. Reduce other liquids slightly if the batter seems too loose.
- → How do I prevent the crumb from showing?
Apply a thin crumb coat of buttercream and chill the cake for 20–30 minutes before the final layer. This traps loose crumbs so the finish stays smooth when you apply the top coat.
- → What’s the best way to make the gold drip safe to eat?
Use edible luster dust mixed with a food-grade clear extract or vodka to create a paint, or mix it into white-chocolate drip once cooled. Always choose products labeled edible and food-safe.
- → How do I get an even pink color?
Start with gel food coloring and add a little at a time until you reach the desired shade. Gel gives vivid color without thinning the batter; mix just until blended to avoid overworking the batter.
- → Can I assemble this ahead of time?
Yes. The cake can be made a day ahead and stored in the refrigerator. Bring it to room temperature before serving for the best texture and flavor; keep any fresh decorations chilled until just before serving.
- → How do I adjust the buttercream consistency?
For a softer buttercream, add small amounts of rosé or heavy cream; for a firmer frosting, add sifted powdered sugar. Beat until smooth and silky, and refrigerate briefly if it becomes too soft while decorating.