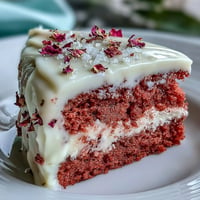
 Save to Pinterest
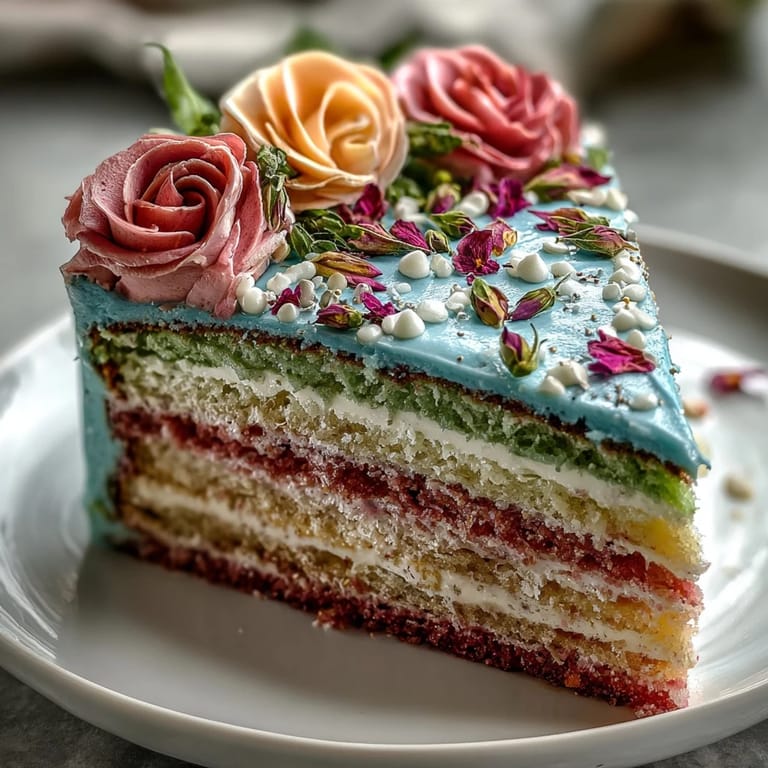
 The first time I tried making a pastel ombre cake, I remember the kitchen filling with the gentle scent of vanilla as I separated bowls of batter and nervously eyed the gel coloring. It felt more like painting than baking, and there was an excited energy in the air—almost like prepping for a surprise party, even though it was just a quiet Sunday afternoon. Watching colors swirl into existence gave me a sense of playfulness; it almost made me forget about the measuring and mixing. I realized quickly that patience was my biggest ally, especially when layering tender pastel hues. By the time the cake was ready to crown with a riot of delicate flowers, the whole room seemed fresher and brighter like spring itself had snuck indoors.
I once baked it for a lively spring brunch with friends, and as the cake emerged from the fridge, conversation paused and someone whispered, "How did you get those layers so perfect?" We laughed over the edible flowers, exchanging guesses about their flavors. By the time coffee was poured, the cake had become the start of a memory—a little slice of spring shared between friends.
Ingredients
- All-purpose flour: This is the backbone for airy layers; sifting it with leaveners gives extra softness.
- Baking powder & baking soda: Balances the rise and keeps the crumb light; careful measurement prevents a dense cake.
- Salt: A pinch sharpens the vanilla and helps every flavor shine.
- Unsalted butter: Room temperature is crucial; cold butter won't cream properly, and the cake won't turn out plush.
- Granulated sugar: Creaming it with butter until fluffy sets the stage for a tender, tall cake.
- Eggs: Bring them to room temperature—cold eggs can cause uneven texture or curdling.
- Pure vanilla extract: The quality of vanilla changes everything; it's the soul of the aroma and flavor.
- Whole milk: Warm it slightly if needed so the batter mixes smoothly without splitting.
- Gel food coloring: Gel colors are vivid and won't thin your batter—choose pastel pink, yellow, green, or blue for a soft ombre.
- Powdered sugar: Sifting removes lumps, so your buttercream stays silky.
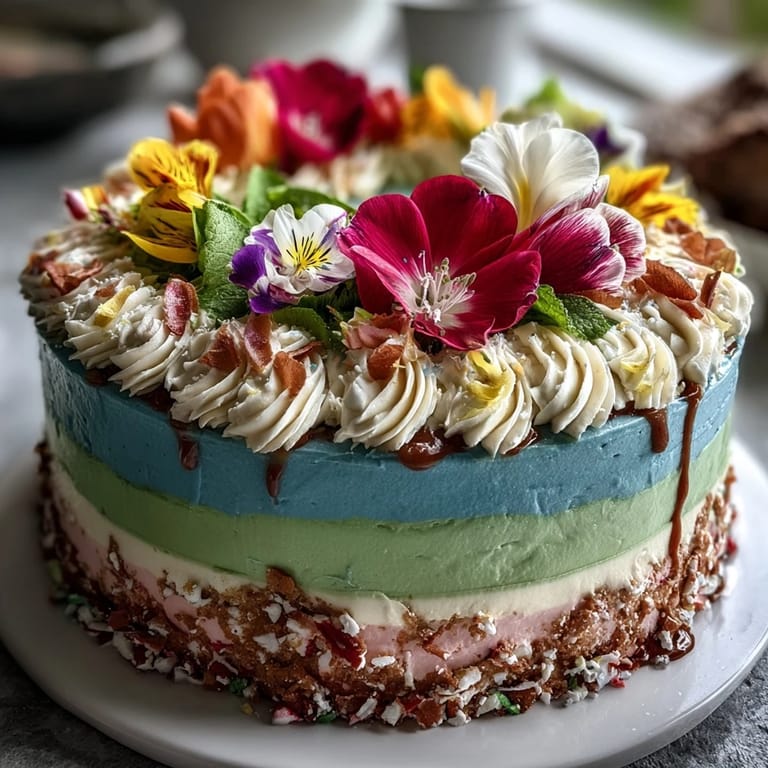
- Edible flowers: Always pick blooms labeled safe to eat; subtle petals and vibrant pansies add beauty and a hint of floral note.
Tired of Takeout? 🥡
Get 10 meals you can make faster than delivery arrives. Seriously.
One email. No spam. Unsubscribe anytime.
Instructions
- Prep Your Pans:
- Grease and line three round pans with parchment so the cakes release easily; the sound of the paper brushing the metal is oddly reassuring.
- Sift and Mix Dry Ingredients:
- Whisk your flour, baking powder, soda, and salt together—the powdery cloud feels almost magical as it rises.
- Cream Butter and Sugar:
- Beat butter and sugar until pale and airy; you'll know it's ready when the mixture looks whipped and fluffy like frosting itself.
- Add Eggs and Vanilla:
- Crack in eggs one by one, mixing gently, then add vanilla—the sweet scent lets you know it's coming together just right.
- Combine Wet and Dry:
- Alternate the dry mix and milk, folding gently so the batter stays tender; don't rush or over-mix.
- Color the Batters:
- Divide batter into bowls and swirl in gel colors for pastel tones; you can use a toothpick to adjust the intensity as you wish.
- Bake the Layers:
- Pour each colored batter into its pan and smooth. Bake until golden and a toothpick comes out clean—your kitchen will smell sweet and buttery.
- Cool the Cakes:
- Let the cakes cool in the pans briefly, then turn them out onto racks to finish cooling; patience here avoids soggy bottoms.
- Prepare Buttercream:
- Beat butter until creamy, then add powdered sugar in stages; as frosting thickens, add milk and colors for pastel ombre shades.
- Assemble and Frost:
- Stack cooled layers with buttercream in between, then coat and chill for a neat crumb layer. Finish frosting with blended pastel swirls, like painting with icing.
- Decorate with Flowers:
- Right before serving, scatter edible flowers over the top—every bloom is a little celebration.
 Save to Pinterest
 One afternoon, I carried the finished cake outside for a garden tea and watched petals catch the breeze while sunlight danced over the ombre frosting. The cake ended up as much a conversation piece as a dessert, and everyone wanted a photo before slicing in.
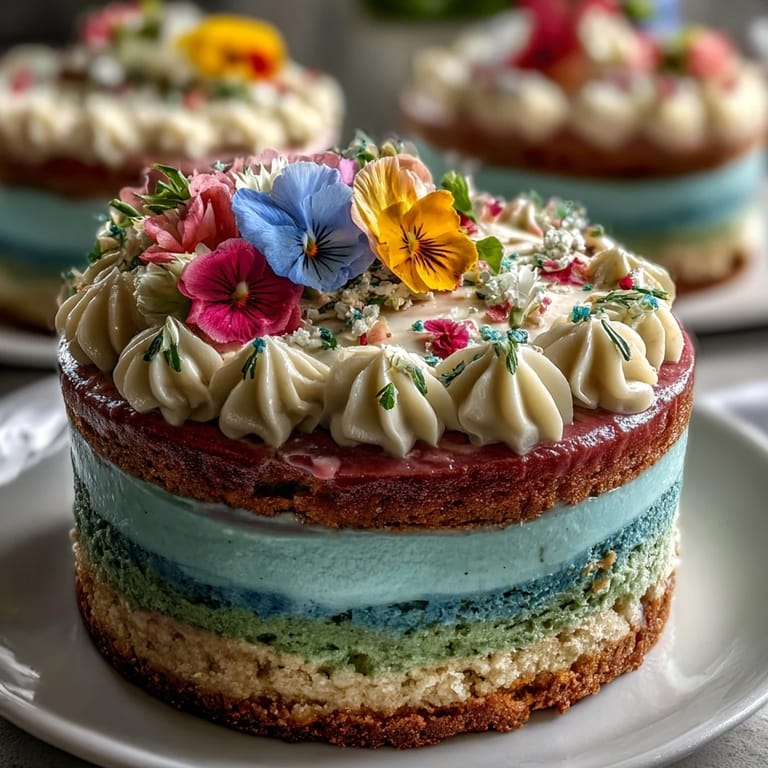
Getting the Ombre Just Right
Taking time to mix your gel colors in gradually means you control the gradient—sometimes a single drop too many can tip the balance. I like to stand by the window and judge colors by daylight, so they look as pretty on the plate as in the bowl.
Making Edible Flowers Shine
After arranging flowers, I gently press them into the buttercream so they stay put, but not deep enough to bruise. Rinsing them and drying well ahead of time keeps everything looking crisp and lovely.
Buttercream Tips for Smooth Layers
If your butter seems a little cold, cut it into smaller cubes and let it sit out while you prep. Don't skip sifting the powdered sugar—it really keeps the frosting lump-free and easy to swirl. If your frosting feels too stiff, just splash in a bit more milk and it will loosen up for that perfect ombre finish.
- Stack layers gently so your gradient stays clean.
- Chill the cake after crumb coating to make the final frosting go on smoothly.
- Take your time blending pastel shades—there's no rush.
 Save to Pinterest
 Every time I slice this cake, it feels like unveiling a little artwork—and sharing it makes the creation even sweeter. Enjoy making it your own, layer by layer, color by color.
Recipe FAQs
- → How do you achieve the ombre effect?
Divide batter into portions, tint each with pastel gel food coloring, and assemble layers to create a gradient hue.
- → Can I use different edible flowers?
Yes, choose organic flowers labeled edible like pansies, violas, or roses; avoid any flowers unsuitable for consumption.
- → How can I make the cake vegan?
Replace butter, milk, and eggs with plant-based alternatives and vegan-friendly gel food coloring as needed.
- → What tools are needed for best results?
You’ll need round cake pans, electric mixer, mixing bowls, spatulas, a wire rack, and optionally, a cake turntable.
- → What about potential allergens?
Cake contains wheat, eggs, and dairy. Edible flowers may cause sensitivities; always confirm their suitability for guests.
- → How should I frost for an ombre look?
Divide buttercream, tint shades separately, and blend smoothly when applying frosting to achieve gradual color transition.