 Save to Pinterest
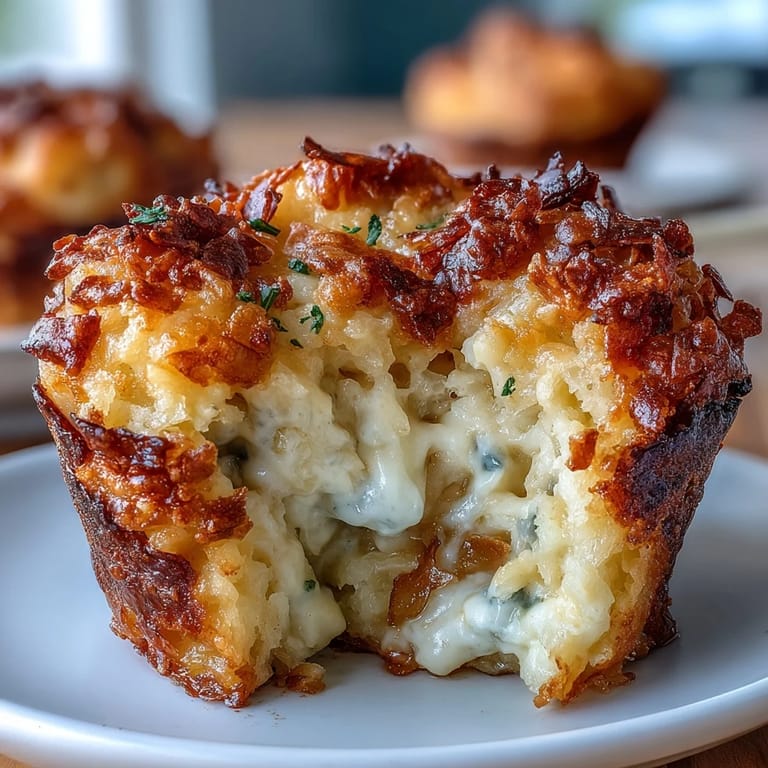
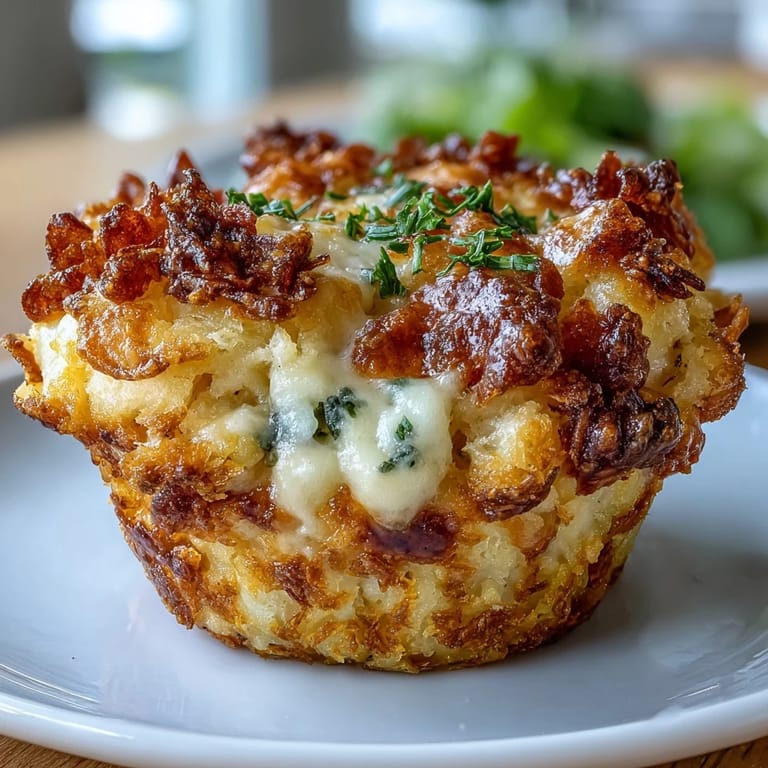
 My aunt pulled these golden muffin cups out of the oven at my cousin's brunch, and I watched people gravitate toward them like they were the main event. There's something about taking funeral potatoes—that iconic church potluck staple—and making them handheld that just works. No more wrestling with a casserole dish or wondering if you're taking too much; everyone gets their own perfect portion with a crispy cornflake crown.
I made these last spring when my neighbor was recovering from surgery, and her teenage daughter actually ate them without being asked. That's when I knew they were a winner—they taste indulgent but feel manageable on a day when nothing else seems appetizing. Now they show up at every gathering I host, and people ask for the recipe before dessert is even served.
Ingredients
- Frozen shredded hash browns (4 cups): Thaw them first so the moisture releases and distributes evenly; this prevents watery, soggy muffin cups that'll fall apart when you unmold them.
- Sour cream (1 cup): This creates the creamy base that holds everything together—don't skip it or substitute it carelessly because it genuinely affects the texture.
- Condensed cream of chicken soup (1 can, 10.5 oz): Use cream of mushroom if you're vegetarian; it binds the mixture while adding umami depth without tasting like canned soup when baked.
- Shredded cheddar cheese (2 cups): Sharp cheddar gives more flavor than mild, and shredding it yourself from a block melts more evenly than pre-shredded varieties.
- Unsalted butter, melted (1/4 cup for filling): Butter adds richness that makes people ask what your secret ingredient is; use good butter and you'll taste the difference.
- Yellow onion, finely chopped (1/2 cup): Raw onion adds a slight bite that balances all the richness, so don't skip it or cook it beforehand.
- Garlic powder (1/2 teaspoon): Fresh garlic will make these weep moisture, so powder is actually the right choice here despite what cookbook purists say.
- Kosher salt (1/2 teaspoon) and black pepper (1/4 teaspoon): Season as you mix so the flavor distributes throughout, not just on top.
- Crushed cornflakes (1 cup for topping): Crush them yourself so they stay chunky; pre-crushed versions turn to dust during baking.
- Unsalted butter, melted (2 tablespoons for topping): This coats the cornflakes so they brown and crisp instead of staying pale and bland.
- Fresh chives (2 tablespoons, optional): Add these after baking for a fresh green note that makes the plate look intentional.
Tired of Takeout? 🥡
Get 10 meals you can make faster than delivery arrives. Seriously.
One email. No spam. Unsubscribe anytime.
Instructions
- Prep your pan and oven:
- Preheat to 375°F and grease your muffin tin well—these tend to stick if you're not generous with the nonstick spray or butter. Set everything up before you start mixing so you're not hunting for supplies once your hands are potato-sticky.
- Build the creamy base:
- Combine the thawed hash browns, sour cream, soup, cheese, melted butter, onion, and seasonings in a large bowl and stir until it looks uniform and cohesive. You want no streaks of sour cream or dry potato visible; this takes a bit of muscle but it matters.
- Fill the cups:
- Spoon the mixture into each muffin cup, filling right to the top and gently pressing down with the back of your spoon. Divide evenly so everyone gets the same golden finish time.
- Create the crispy crown:
- Toss your cornflake crumbles with the melted butter until every piece is coated, then sprinkle generously over each cup. The butter is what makes them crisp up instead of staying soggy, so don't skip this step.
- Bake to golden perfection:
- Slide into the oven for 25 to 30 minutes until the cornflake topping is deep golden and the filling looks set when you nudge the pan. The edges might pull slightly from the pan sides, which is your sign they're ready.
- Cool and release:
- Let them sit in the pan for five minutes—this firms them up just enough to unmold without falling apart. Run a thin knife around each edge and gently wiggle them out onto a serving plate.
- Finish and serve:
- Scatter fresh chives over the top if you have them, then serve while they're still warm enough that the cheese is creamy inside.
 Save to Pinterest
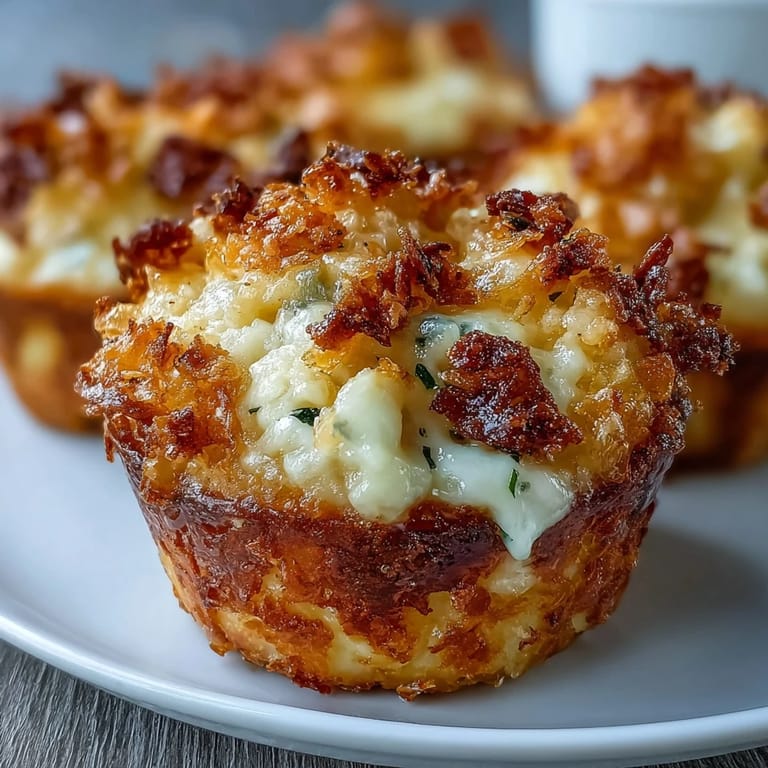
 Last winter, my sister brought these to a holiday breakfast and someone's grandmother asked for three. She sat there eating them methodically, savoring each one like it was the best thing she'd eaten in years, and that's when I realized these aren't just convenient—they're genuinely comforting in the way only carbs, cheese, and cream can be.
The Beauty of Portable Potatoes
There's a reason these work so well at buffets and gatherings: they solve the problem of serving comfort food to a crowd without everyone crowding around one dish. You can make them ahead, reheat them gently, and people actually eat with their hands while mingling instead of juggling a plate and fork. They're fancy enough to serve at brunch but casual enough for a weeknight side dish.
Making Them Your Own
The beauty of this recipe is that it's forgiving enough to handle variations depending on what you have or what your guests need. I've made them with Greek yogurt when I wanted to trim calories, added crispy bacon because someone mentioned they missed meat, and once I used gluten-free cornflakes because a friend was visiting. Each version tasted different but equally delicious, which is the hallmark of a recipe that's actually generous at its core.
Timing and Storage Tips
These are brilliant for make-ahead cooking since you can assemble them the night before, refrigerate, and add 5 minutes to the baking time if they go in cold. Leftovers reheat beautifully covered with foil at 300°F for about 10 minutes, and they actually taste better the next day once all the flavors have mingled overnight.
- Freeze the baked muffin cups in an airtight container for up to three weeks, then thaw and reheat when you need an instant side dish.
- If your topping starts browning too fast during baking, loosely tent with foil and remove it for the last five minutes to finish crisping.
- Make sure you're using nonstick spray or butter on every surface of the muffin tin—these little cups deserve respect when it comes to release.
 Save to Pinterest
 These muffin cups have quietly become the thing people remember about the meals I serve—not because they're complicated, but because they taste like someone cared enough to make something special. That's the whole point of cooking, really.
Recipe FAQs
- → What type of potatoes work best?
Frozen shredded hash browns are recommended for easy mixing and texture, but fresh finely shredded potatoes can also be used if drained well.
- → Can I make these vegetarian?
Yes, substitute the cream of chicken soup with cream of mushroom soup and ensure the toppings contain no animal products.
- → How do I achieve a crispy topping?
Mix crushed cornflakes with melted butter and sprinkle on top before baking to get a golden, crunchy crust.
- → Can I prepare these ahead of time?
Assemble the muffin cups and refrigerate them for a few hours before baking, but bake fresh for the best texture.
- → Are there gluten-free options?
Use certified gluten-free cream soup and cornflakes to keep the dish free from gluten.