 Save to Pinterest
 The smell of browning meat always pulls me back to Sunday afternoons in my grandmother's kitchen, but pot roast was something I learned to make on my own, much later, in a cramped apartment with a secondhand Dutch oven. I burned the first one because I rushed the searing, thinking color didn't matter. It mattered. Now I know that deep caramelization on every side is what turns a simple roast into something you can't stop thinking about the next day.
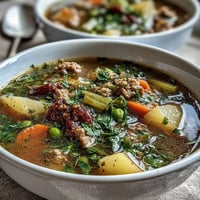
I made this for a cold January dinner when friends showed up unexpectedly, and I stretched six servings to feed nine by piling everything over buttered egg noodles. The broth soaked into the pasta, the beef shredded with just a fork, and no one left hungry. It became the dish I turn to when I want to feed people without fuss, when the oven does most of the work and I get to sit with a glass of wine while it braises.
Ingredients
- Beef chuck roast or blade roast, well-marbled: Marbling is your friend here, it melts into the meat during the long braise and keeps everything moist and rich.
- Kosher salt and freshly ground black pepper: Season generously before searing, this is your only chance to build flavor directly on the meat.
- All-purpose flour (or gluten-free flour): A light dusting helps the crust form faster and adds a subtle thickening to the sauce later.
- Olive oil, vegetable oil, and unsalted butter: The butter adds a nutty richness to the sear, but the oil keeps it from burning at high heat.
- Yellow onion, sliced into thick wedges: Thick wedges hold their shape through hours of cooking and become sweet, jammy bites in the final dish.
- Garlic, smashed and peeled: Smashing releases more flavor than mincing, and the cloves soften into creamy little pockets.
- Carrots, celery, and baby potatoes: Add these halfway through so they stay intact and don't dissolve into mush.
- Tomato paste: Cooking it until it darkens removes the raw metallic taste and adds a deep, concentrated sweetness.
- Dry red wine: Use something you'd actually drink, not cooking wine, it becomes the backbone of the sauce.
- Low-sodium beef broth: Low-sodium lets you control the salt as the liquid reduces and intensifies.
- Worcestershire sauce: Just a teaspoon brings umami and a hint of tang that rounds out the richness.
- Fresh rosemary, thyme, and bay leaves: Fresh herbs taste brighter, but dried work in a pinch, just use less.
- Cornstarch slurry (optional): If you like a thicker, clingier gravy, this is your trick, but the flour from searing usually does enough on its own.
- Fresh parsley for garnish: A handful of chopped parsley at the end cuts through the richness and makes everything look alive again.
Tired of Takeout? 🥡
Get 10 meals you can make faster than delivery arrives. Seriously.
One email. No spam. Unsubscribe anytime.
Instructions
- Preheat and prep the roast:
- Set your oven to 300°F if you're using it. Pat the beef completely dry with paper towels, any moisture will steam instead of sear, then season every side with salt and pepper and dust lightly with flour.
- Sear the beef:
- Heat 2 tablespoons oil and the butter in your heaviest pot over medium-high heat until shimmering. Sear the roast for 4 to 5 minutes per side without moving it, you want a dark mahogany crust, and don't skip the edges.
- Sauté the aromatics:
- Remove the roast and lower the heat to medium. Add the last tablespoon of oil if the pot looks dry, toss in the onion wedges and cook until golden and soft, then add the garlic and cook just until fragrant, about a minute.
- Build the base:
- Stir in the tomato paste and cook, stirring constantly, until it turns a shade darker and smells sweet. Pour in the wine and scrape up every brown bit stuck to the bottom, let it bubble and reduce for 2 to 3 minutes.
- Add broth and herbs:
- Pour in the beef broth and Worcestershire sauce, stir, then tuck in the rosemary, thyme, and bay leaves. Nestle the roast back into the pot along with any juices, the liquid should come about halfway up the meat.
- Braise low and slow:
- Bring everything to a gentle simmer, cover tightly, and either lower the heat to low on the stovetop or slide it into the oven. Let it cook undisturbed for 1½ hours.
- Add the vegetables:
- Turn the roast over, tuck the carrots, celery, and potatoes around it, making sure they're submerged in the liquid. Cover again and cook another 1½ to 2 hours until the beef pulls apart easily with a fork.
- Rest and skim:
- Transfer the roast and vegetables to a platter and tent with foil. Skim any fat floating on top of the liquid with a spoon or ladle.
- Thicken the gravy (optional):
- If you want a thicker sauce, bring the liquid to a simmer and whisk in the cornstarch slurry. Cook for 2 to 3 minutes until it coats the back of a spoon, add a splash of broth if it gets too thick.
- Finish and serve:
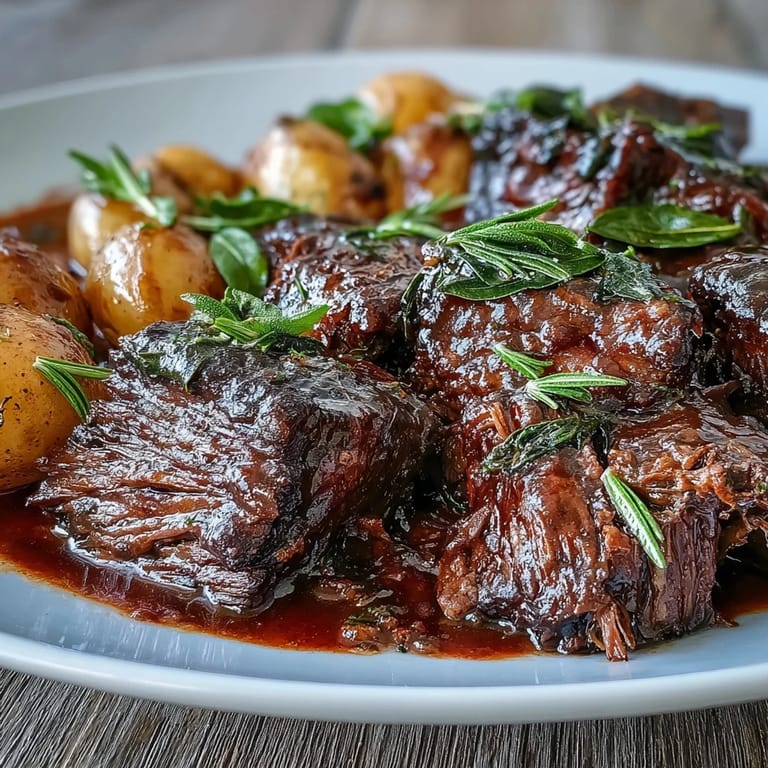
- Fish out the herb stems and bay leaves. Shred the beef into big chunks or slice it against the grain, return it to the pot or arrange it over the vegetables, and spoon the sauce generously over everything.
 Save to Pinterest
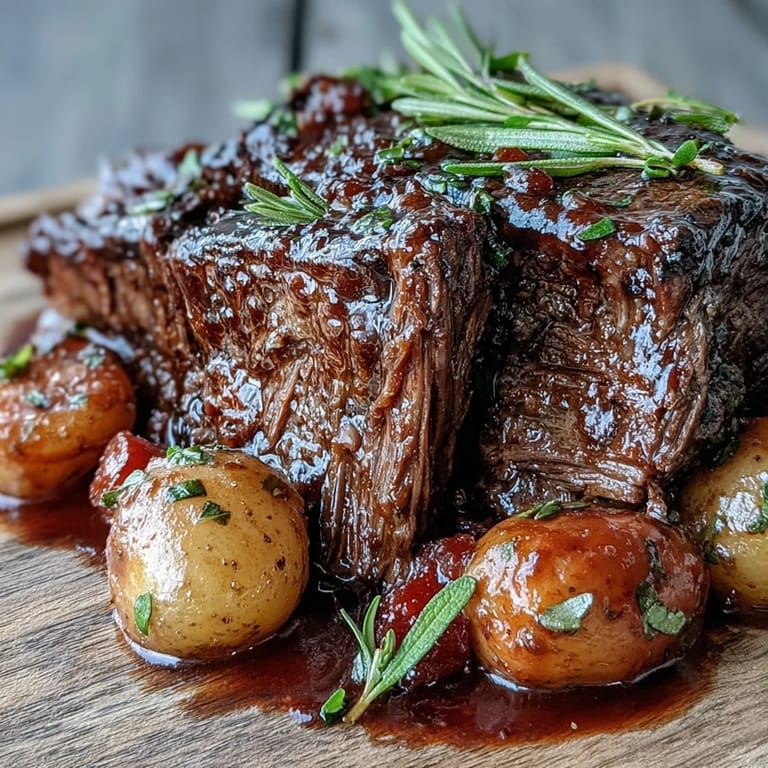
 The first time I reheated leftovers the next day, I realized pot roast might actually be better on day two. The flavors had settled into each other overnight, the beef soaked up more of the sauce, and I ate it straight from the pot standing at the counter. That's when it stopped being just dinner and became something I craved.
Slow Cooker Adaptation
If you want to use a slow cooker, sear the meat and sauté the aromatics on the stovetop first, then transfer everything to the slow cooker with the broth and herbs. Cook on low for 8 to 10 hours or high for 5 to 6 hours, adding the vegetables halfway through if you want them to hold their shape. The texture won't be quite as deeply caramelized, but the convenience is hard to beat on a busy day.
Storing and Reheating
Let the pot roast cool completely before transferring it to an airtight container with plenty of the braising liquid to keep the meat from drying out. It keeps in the fridge for up to four days and freezes beautifully for up to three months. Reheat gently on the stovetop over low heat, adding a splash of broth or water if the sauce has thickened too much, and resist the urge to microwave it, slow and low keeps everything tender.
Serving Suggestions
Pot roast begs for something to soak up the sauce, and I've served it over mashed potatoes, buttered egg noodles, creamy polenta, and even torn pieces of crusty bread. The vegetables are already built in, but a simple green salad or roasted Brussels sprouts on the side cuts through the richness. Leftovers make incredible sandwiches on toasted rolls with a smear of horseradish or piled into soft tortillas with pickled onions and cilantro.
- Serve with crusty bread, mashed potatoes, or buttered noodles to catch every drop of sauce.
- A simple green salad or roasted vegetables on the side balances the richness.
- Leftover beef transforms beautifully into sandwiches, tacos, or served over rice or polenta.
 Save to Pinterest
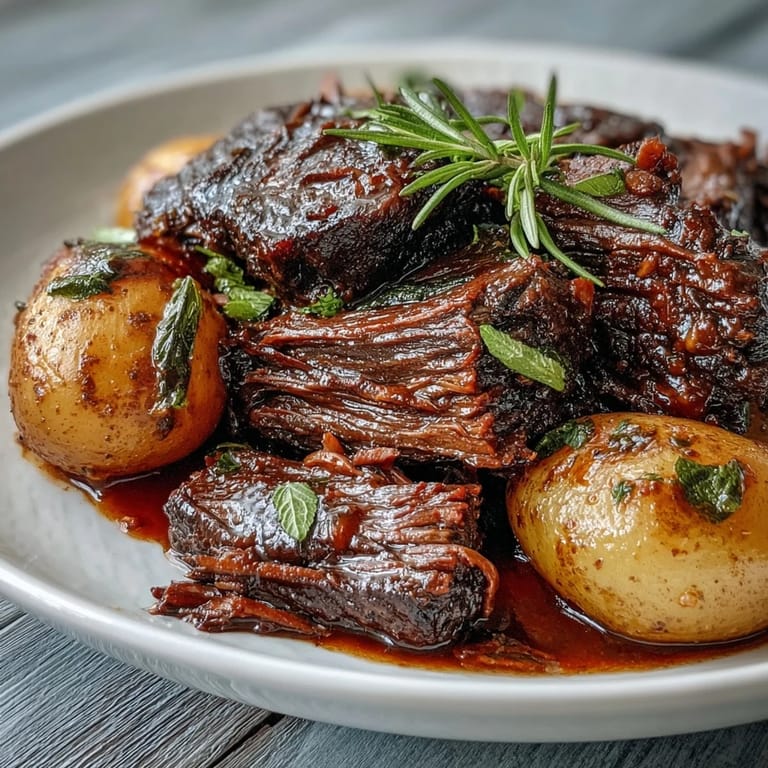
 This is the kind of dish that makes your kitchen smell like home, the kind that fills you up and slows you down. Make it once, and it'll become the recipe you return to every time you need something dependable and deeply satisfying.
Recipe FAQs
- → What cut of beef works best for pot roast?
Chuck roast or blade roast with good marbling works best. The fat content ensures the meat stays moist and tender during the long braising process, resulting in succulent, flavorful beef that shreds easily.
- → Can I make this in a slow cooker?
Yes, after searing the beef and sautéing the aromatics, transfer everything to a slow cooker. Cook on low for 8-10 hours or high for 5-6 hours. Add vegetables halfway through for firmer texture.
- → How do I know when the pot roast is done?
The beef is ready when it's fork-tender and easily pulls apart or shreds. This typically takes 3-3.5 hours of braising. The internal temperature should reach about 190-205°F for optimal tenderness.
- → Can I substitute the red wine?
Yes, use additional beef broth if you prefer a non-alcoholic version. The wine adds depth and acidity, but extra broth with a splash of balsamic vinegar can provide similar flavor complexity.
- → What's the best way to thicken the gravy?
Mix cornstarch with cold water to create a slurry, then stir it into the simmering braising liquid. Cook for 2-3 minutes until thickened. Alternatively, reduce the liquid by simmering uncovered for a more concentrated sauce.
- → How should I store and reheat leftovers?
Store beef and vegetables in an airtight container with the gravy for up to 4 days in the refrigerator. Reheat gently on the stovetop or in the oven at 300°F. The flavors develop even more the next day.