 Save to Pinterest
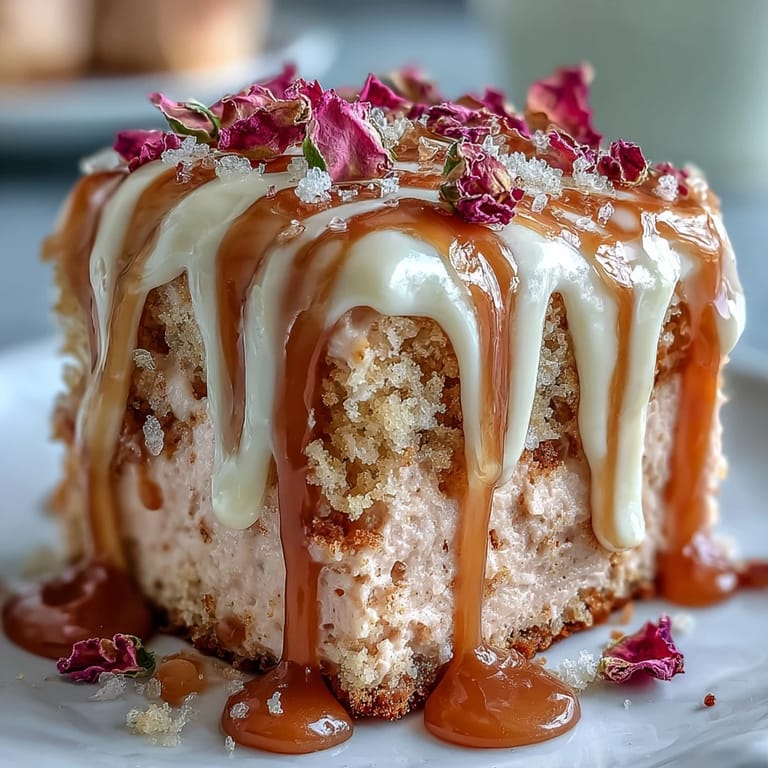
 The sound of laughter echoed through my kitchen the first time I set out to make this Rosé Velvet Cake. There was a certain excitement in the air as the scent of vanilla and cocoa mingled with a hint of wine, transforming my workspace into something resembling a patisserie more than an apartment. I didn’t expect the blush-pink batter to make me smile quite so much, nor for the gold drip to feel so decadent to paint. Baking this cake feels a little bit celebratory even when it’s just for an ordinary Tuesday. It’s the kind of treat meant to shine amidst joyful company and special toasts.
Last spring, in the middle of ribbon-tying and centerpiece arranging for my cousin’s bridal shower, I snuck away to assemble this cake in a sunlit kitchen while her bridesmaids offered to “taste-test” the scraps. There was flour on my dress and icing on my elbows by the time I finished, but no one seemed to mind after that shimmering gold drip appeared, shimmering like confetti.
Ingredients
- All-purpose flour: Gives the cake structure and lightness; sift well for an airy crumb.
- Granulated sugar: Sweetens and tenderizes; creaming with butter is key for fluffiness.
- Baking soda & baking powder: These leaveners work together for a delicate rise; always check expiration dates so the cake doesn’t fall flat.
- Salt: Balances out the sweetness and enhances chocolate and wine flavors.
- Unsweetened cocoa powder: Lends the subtle chocolate note; use Dutch-process for a smoother flavor.
- Unsalted butter (for both cake and frosting): Provides richness and smoothness; let it fully soften for easy creaming.
- Buttermilk: Adds moisture and tang, crucial for velvet-textured cakes; bring it to room temperature before mixing.
- Rosé wine: Delivers the signature hint of fruit and floral; choose a dry, nicely aromatic rosé for best results.
- Eggs: Bind everything together and give the cake structure; room temperature eggs blend more evenly.
- Vanilla extract: Enhances all the other flavors; use pure extract if you can.
- White vinegar: Reacts with cocoa and leaveners to help create that unique velvet crumb; don’t skip it.
- Pink food coloring gel: For the perfect blush hue; use gel to avoid thinning your batter.
- Cream cheese (for frosting): Delivers creamy tang; beat until smooth to avoid lumps.
- Powdered sugar: Sweetens and thickens the frosting; always sift so the result is ultra-silky.
- Heavy cream (for gold drip): Makes the drip shine and flow smoothly; add slowly to reach the right consistency.
- White chocolate chips: Form the base of the gold drip; melt slowly to avoid seizing.
- Edible gold luster dust & vodka/clear extract: Paints the drip with a magical finish; mix just before using for bold color.
Tired of Takeout? 🥡
Get 10 meals you can make faster than delivery arrives. Seriously.
One email. No spam. Unsubscribe anytime.
Instructions
- Set up your pans:
- Grease and line your 8-inch cake pans with parchment while the oven preheats to 350°F—the hiss of butter on hot metal is a happy kitchen sound.
- Mix the dry ingredients:
- Sift together flour, cocoa, baking soda, baking powder, and salt; watch the powdery clouds float, ensuring a smooth batter later.
- Cream butter and sugar:
- Beat until the mixture goes from grainy to fluffy and pale—patience here means a lighter cake.
- Add eggs and vanilla:
- Drop eggs in one at a time, mixing after each, then swirl in that fragrant vanilla.
- Combine liquids and finish batter:
- Gently mix in buttermilk, rosé, and vinegar, then add the dry mixture in batches; stop as soon as everything comes together.
- Create your blush:
- Dot in pink food coloring gel and stir just enough to reach your preferred rosy shade.
- Bake:
- Divide batter into pans and bake 30–35 minutes—the cakes should spring back and almost sigh when touched.
- Cool the cakes:
- Let them rest in their pans for 10 minutes before flipping onto wire racks where the kitchen will fill with a chocolatey, wine-sweet aroma.
- Make frosting:
- Beat cream cheese and butter until cloud-like, gradually adding powdered sugar, then rosé, vanilla, and salt for a plush finish.
- Assemble and crumb-coat:
- Level cooled cakes if needed, frost between layers, then cloak the whole cake with a thin crumb-coat and chill so everything sets up tidy.
- Final frost:
- Cover chilled cake with a generous layer of frosting, smoothing sides with an offset spatula for bakery vibes.
- Make and apply gold drip:
- Melt white chocolate and cream together, cool to room temp, then spoon along cake edges to encourage glossy drips down the sides.
- Paint on the gold:
- Mix luster dust with vodka and use a brush to gild the drip, working gently; this is where it truly turns festive.
- Chill cake:
- Let the finished cake set in the fridge at least 30 minutes so the colors pop and the slices cut beautifully.
 Save to Pinterest
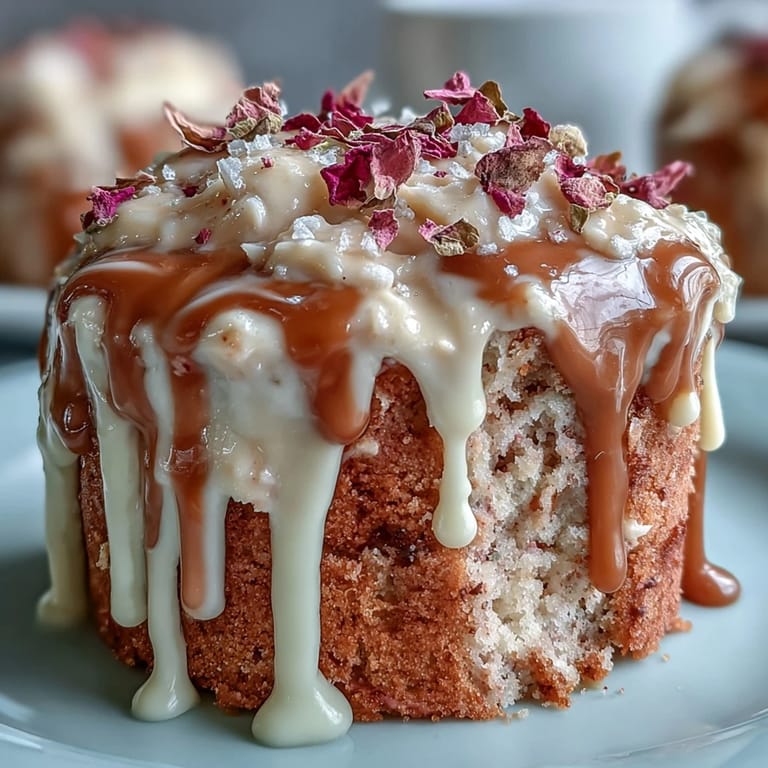
 Watching friends delicately slice through the marbled blush layers, gold shimmering in the sunlight, I realized this cake brings more than flavor to the table—it sets the mood for celebrating love, laughter, and all the little toasts along the way.
How to Get a Perfect Gold Drip Every Time
Applying the gold drip felt intimidating at first, but a squeeze bottle or just a careful spoon with the chocolate at room temperature takes the guesswork out of the process. Letting the chocolate cool keeps the drip thick and slow, so it flows down the sides in elegant ribbons rather than running wild. Gently dabbing with a brush soaked in gold luster paint was oddly therapeutic—I always keep a damp paper towel nearby to catch stray flecks. If you drip too much in one spot, a cold knife evens it out softly. Every cake ends up having a slightly different pattern, which makes each one feel one-of-a-kind.
Decorating Like a Pro, Even If Youre Not
I once tried topping this cake with just berries and gold leaf, but the look wasn’t quite as lush as when I dotted around edible flowers and a scattering of pink sprinkles. Having everything prepped in small bowls before you start frosting means you can work quickly and confidently, avoiding sticky fingers in your final decorations. Don’t stress if your piping isn’t perfect—sometimes a few artful swirls with an offset spatula feel more modern. When painting the gold, slow down and enjoy the moment. It’s a small window of creativity that’s yours before the celebration begins.
Making This Cake Your Own
After a few bridal showers and milestone birthdays, I’ve learned that this cake welcomes subtle tweaks—substitute the wine for sparkling juice to keep things family-friendly, or change the icing tint for a new occasion.
- If your kitchen is warm, chill your cake layers between every assembly step for cleaner edges.
- A pinch of freeze-dried strawberry powder in the frosting adds a bright fruity note.
- Remember, cakes with spirit are about the moment, not perfection.
 Save to Pinterest
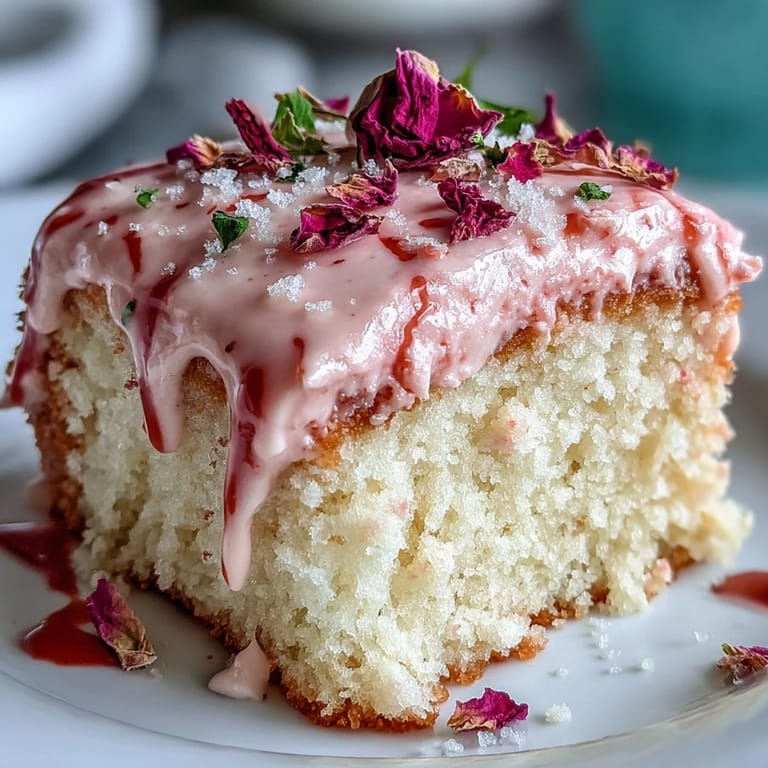
 Every bite of this Rosé Velvet Cake is as joyful as clinking glasses at a celebration. Serve with a smile, and the memories will linger long after the last forkful disappears.